Setting I2 Localization
Atavism 2018.1 comes with the integration of I2 Localization. You will be able to translate messages and in-game interface with easy to use package.
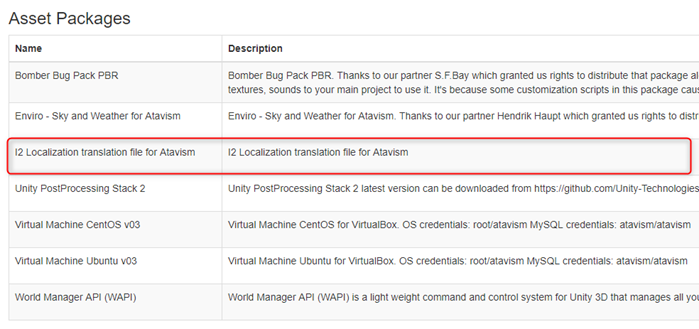
In order to do this, you should purchase the I2 Localization package from the Unity Asset Store: https://assetstore.unity.com/packages/tools/localization/i2-localization-14884
Download it and import it to your project.
Next open Atavism Editor and in Integration Plugin tick the checkbox I2 Localization
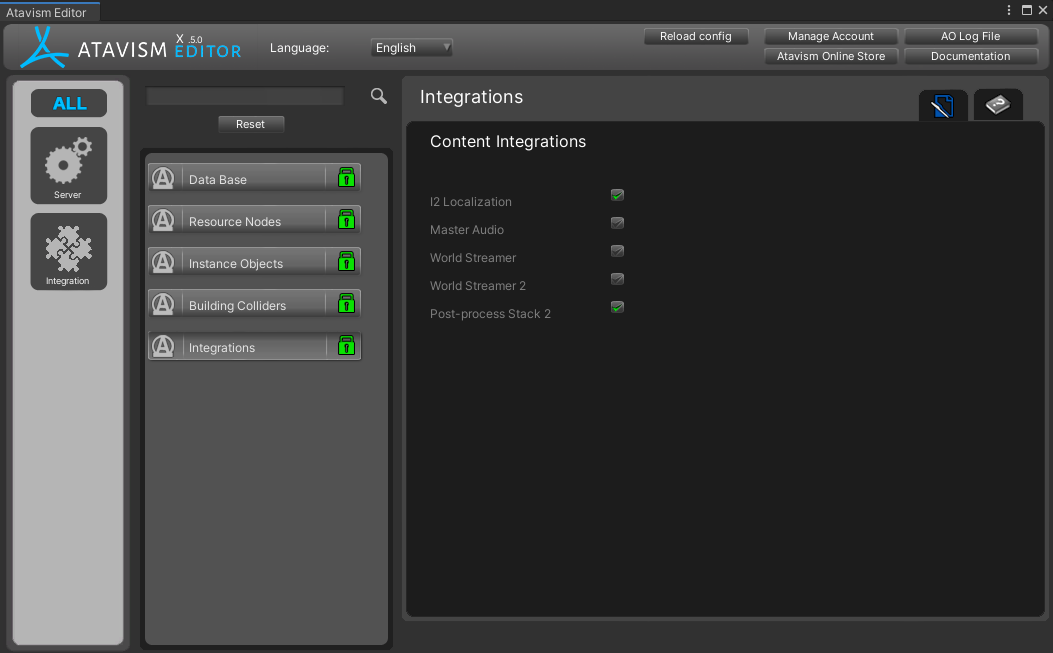
Atavism scripts will be recompiled to use I2 Localization.
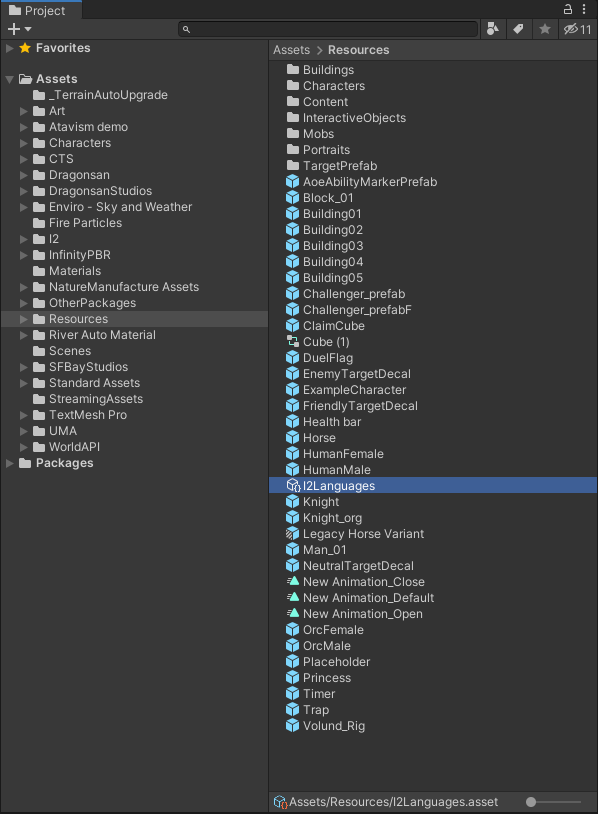
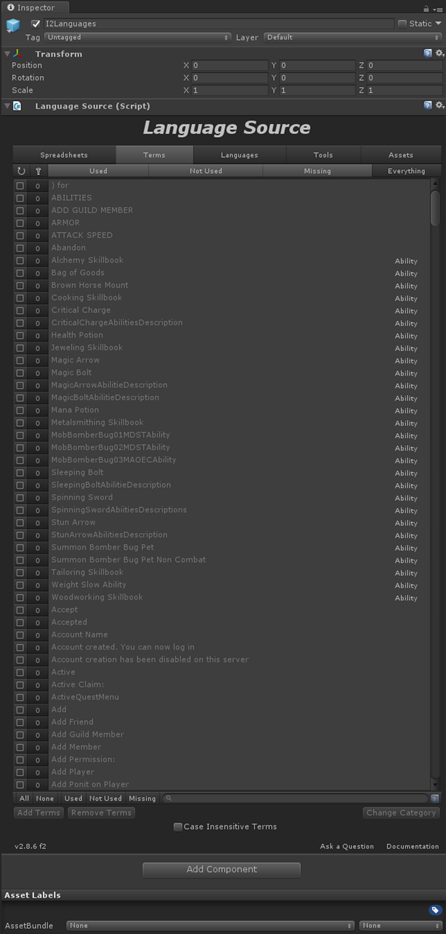
In the Assets\Resources directory find the I2Languages prefab
and navigate to the Spreadsheets tab and click on Add New
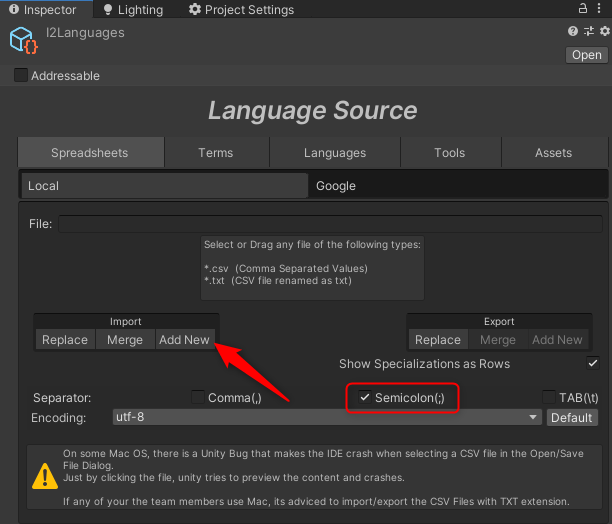
Download Localization.csv file from your apanel
select that file for the import process and click Open. You should see imported Terms into your I2 Localization
Then for each Canvas Text element, you should add I2 localize component and if the key already exists in your terms list then you can pick that key from the list (it should be selected automatically based on Text Component Value) or you can search it by expanding Terms and putting the name of the term in the input field.
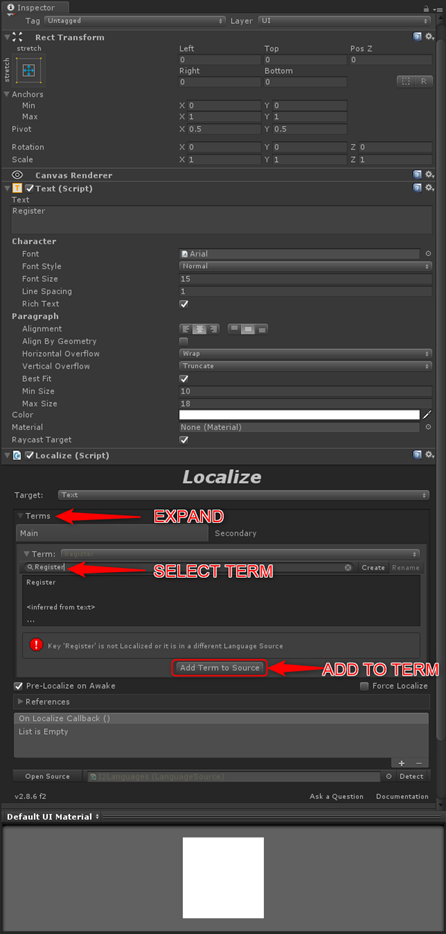
When such key doesn’t exist in the terms list then you can add it by clicking on the Add Term to Source button.
In case you would want a more advanced configuration like google spreadsheets, please read the author’s documentation page: http://inter-illusion.com/assets/I2LocalizationManual/Features.html