Setting Postprocessing Stack 2
Atavism 2018.1 comes with the integration of Postprocessing Stack 2. You will be able to give an ability to adjust all elements by using game settings menu which looks like this
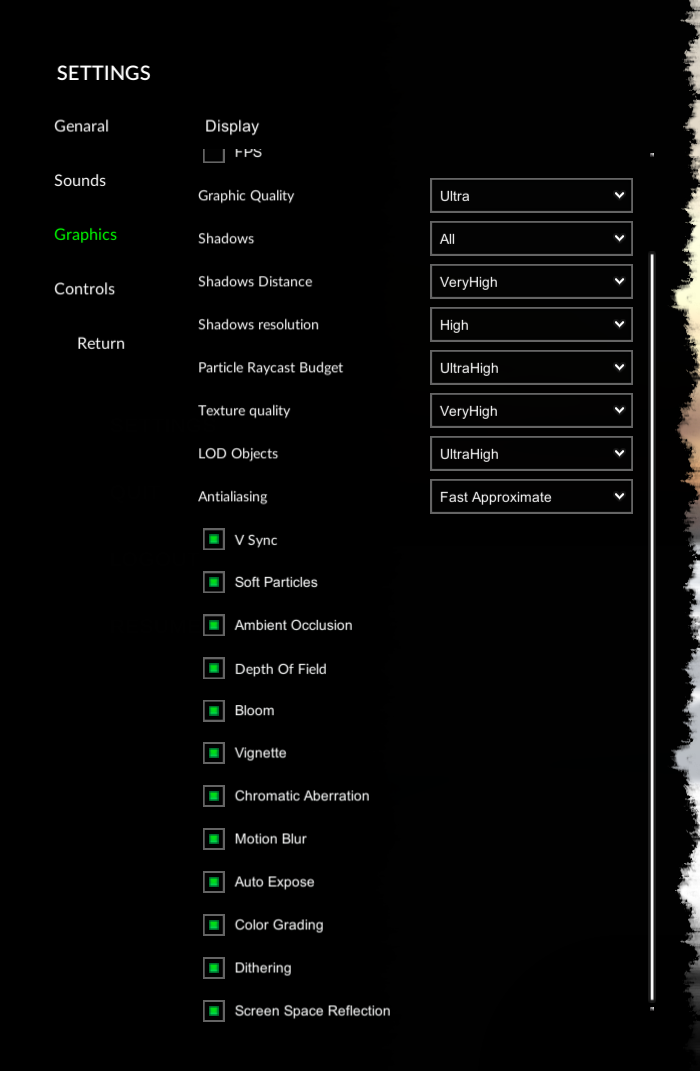
Among many different Unity settings like Shadows, Shadows distance, Texture quality you will be able to set also other typical post process settings like Ambient Occlusion, Depth of Field, Bloom and more. In order to do that follow this few steps documentation.
First, you would like to import Postprocessing Stack 2 which is accessible from your client portal: https://apanel.atavismonline.com
or directly from github: https://github.com/Unity-Technologies/PostProcessing and import it into your project.
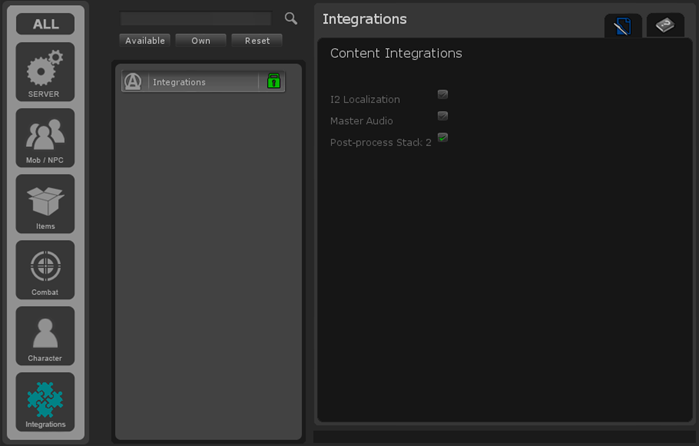
Next open Atavism Editor and in Integration Plugin tick the checkbox Postprocessing Stack 2
Atavism scripts will be recompiled to use Posprocessing Stack 2.
Then one last thing left. On the MainCamera object you should have AtavismPostProcessing component and in the Volumes put define an array with Volumes which you want to take into account

Rest configuration is the same as you would configure Postprocessing Stack 2 by default, so add Post Process Volume on your object int he scene and adjust it to your needs by using Post Proces Volume Profile.